Sunday, March 15, 2009

What NOT To Do

Here are two photos of the inside of my pit greenhouse with tools removed and insulation mostly completed. Now is the time to plan for the planting beds and lighting system. What NOT to do is to build the top before finishing the floor, as you will see.

March12 006

March12 003

The problem I ran into was this. The floor was dusty, dry dirt. I decided I wanted a gravel floor for drainage and for my air duct venting system. I could have just thrown gravel down on top of what I had, however, greenhouse space is very precious. I also didn't want to block the door from opening with a layer of gravel. So here I am with my buddy Hank, lowering the floor in preparation of putting in gravel.

I told Hank that we were having a work party and I couldn't convince him that the dust mask was not a hat!
March12 012

March12 017

March12 020

This was a lot of unnecessary work. I should have planned my underground venting system and gravel installation before I built the top. It was dusty, hard, slow work. I really appreciated Hank's help.

What NOT to do: Don't borrow an old dump truck.
March7 001

March7 010

Don't get me wrong. You should try to save costs wherever you can. I called the gravel pit and just about fainted when they quoted me 300 dollars to deliver gravel to my house. I of course, looking for all short cuts found out that anyone in our county can borrow the old "Soil and Water Conservation" dump truck. It was a long drive to the gravel pit (45 miles one way). After you add gas and the stress from wondering if we would make it there and back, not counting hoping that we wouldn't get a ticket for a number of mechanical inadequacies etc., it would have been cheaper, safer and easier to go ahead and have the company deliver. My problem was that I only wanted 3 and a half yards of gravel, but their minimum was ten yards. In hindsight I see where I could have used the extra gravel in my driveway. All's well that ends well. We made it home safely.

March12 011

This next photo shows us down to grade (ready for the gravel).
March12 021

From left to right: Hank, the wizard/inventor, Me the laborer, and Dad the supervisor.
March12 023


Sunday, March 8, 2009

Progress!

I finished the roof about a week after the photo of us sitting on it was taken (last post). No one took pictures while I was putting metal roofing on. I chose a white color to reflect the sun in the summer. It was pretty easy laying it on top of the plywood and screwing it down. Metal roofing isn't necessary but sure keeps maintenance to a minimum and looks great. Here is a shot from the north.

Greenhouse 002

Here is the west side of the greenhouse. Notice the window that will help with ventilation during the summer. Notice the grey patch on the left. That is a seal over the top of the cement blocks to make it look a little nicer and to help protect the blocks. I may push dirt up against that area and terrace it.

Greenhouse 004

Here is the south side. I still have little holes to patch. I'm using that foam that comes in a spray can that's called "Great Stuff". The two sliding glass doors in the middle open and I took a sliding glass door apart and just used the glass on each end. All the glass is still double paned. I was told that it is better to keep it that way for the insulation factor. You don't lose that much light spectrum coming through the double paned windows.

Greenhouse 003

This is a shot from the east side. You can see the cellar style door entrance. The little door on the top opens up, and the top of the wooden structure lifts up on hinges for large items to go in or out. You can also see the chimney. It's rather primitive. I will be working on the stabilization later on. I got the stove pipe and the stove at a garage sale. Notice also on the top left, the air vent cover. It opens and closes when the fan starts and stops.

Greenhouse 001

Here I am showing how the top lifts up.

Greenhouse 017

Here is the smaller door opening on the top, leading down the stairs to the full sized metal outside door.

Greenhouse 005

We just walked down the stairs into the greenhouse and turned around and are looking at the steps to show you the stove.

Greenhouse 007

You can see on this wall my electrical panel and the attic vent fan that I have installed. I'm getting ready to put the insulation in.

Greenhouse 008-1

After I put the fiberglass insulation in on the roof and the sides, I put this additional insulation on to keep the water away from the fiberglass insulation and to increase the light reflection. The shiny stuff is a one inch thick, foam board, 4' X 8' , with a foil outer cover.

Greenhouse 012

You can see I have started the insulation on the west wall. My next post will show all the finished insulation, with the shiny aluminum coating. Notice the electrical conduit and outlets. These will be used for lights in the winter and possibly soil heaters. I'm trying to keep electrical usage to a bare minimum. I plan to put solar power in as soon as I can.

Greenhouse 015

I'm in the process now of organizing the interior. I will be building benches and stadium seating style hydroponic beds. I plan to use the German Mittleider method in the middle. I'll show the benches as I build them. There will be bunkbed style benches on the south side and aquaponic barrels at both ends. I used strong roofing materials because I knew I would be hanging planters from the ceiling. There never seems to be enough room in a greenhouse.

Tuesday, March 3, 2009

Write On!

Hey! About that new little symbol in my sidebar that says Write On! Here's the story. I have a real hot button issue. This young lady was blogging and the news media picked it up and was very disrespectful. They took it out of context. There is a real elite group of people in mainstream media and they would love to shut down bloggers. To me the internet is good for two things. Sharing information and the free flowing exchange of ideas. Heavy emphasis on FREE. This is just an attempt to eventually shut down free access to information. Let's show our support. Check this out!
Click on this symbol. Put it on your blog if you are so inclined.


Monday, March 2, 2009

With a Little Help From My Friends...

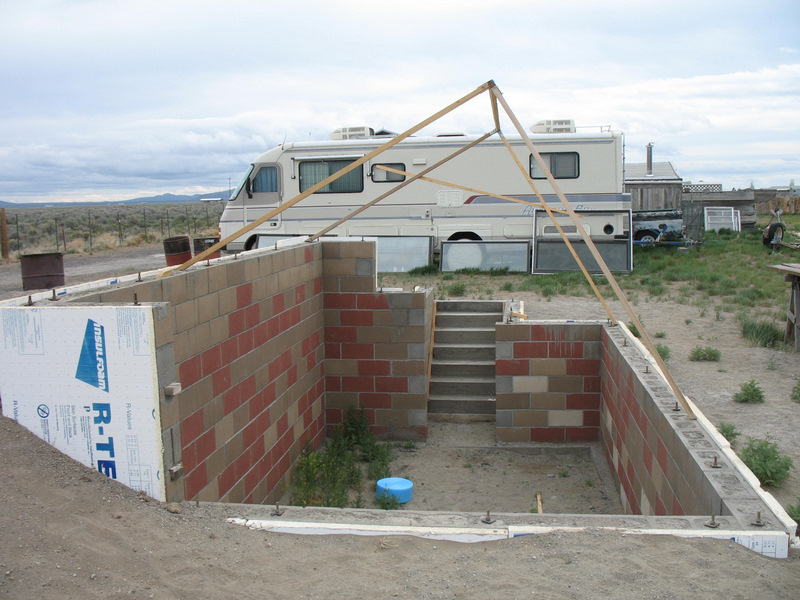
A 60 degree angle on the south facing wall is the goal. The reason for this is so the sun in the summer time will not directly come into the greenhouse, overheating it, but in the winter time when light is scarce, it will capture it all. There is a formula that I used to determine the proper angle to get the best sky radiation. I got this angle from "The Solar Greenhouse" book by James C. McCullagh. I think it is as easy as just adding 20 degrees to your latitude to get you slope. The trick is trying to build the frame, so we did a "mock up". That's a fancy word for using inexpensive, small scrap material to figure out the angles and take measurements for the real construction project.
May22 035

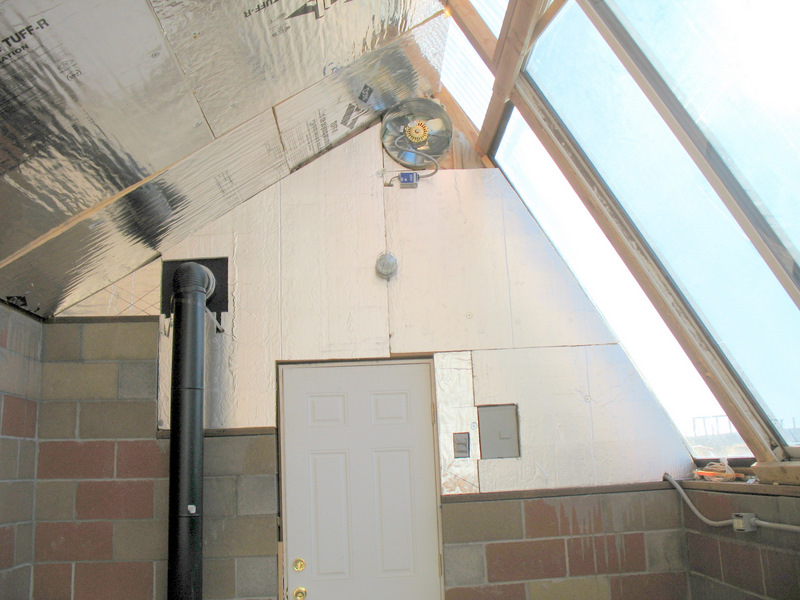
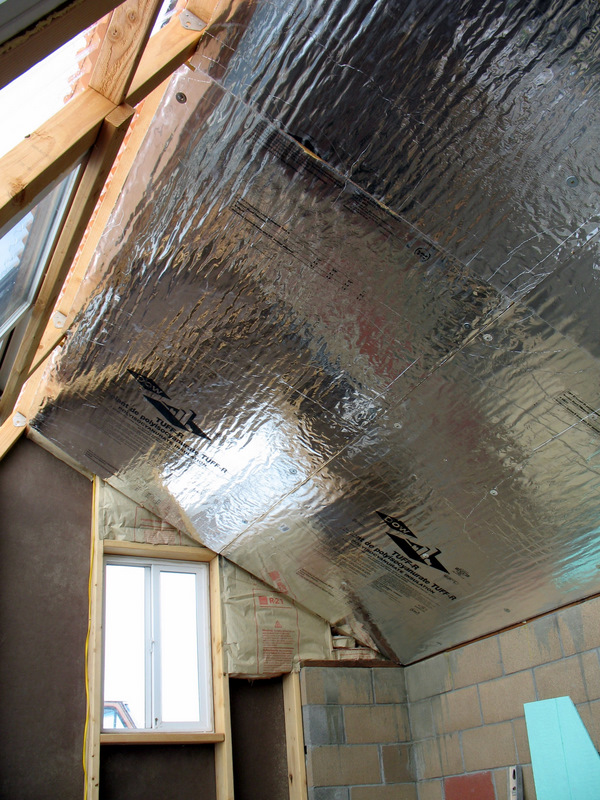
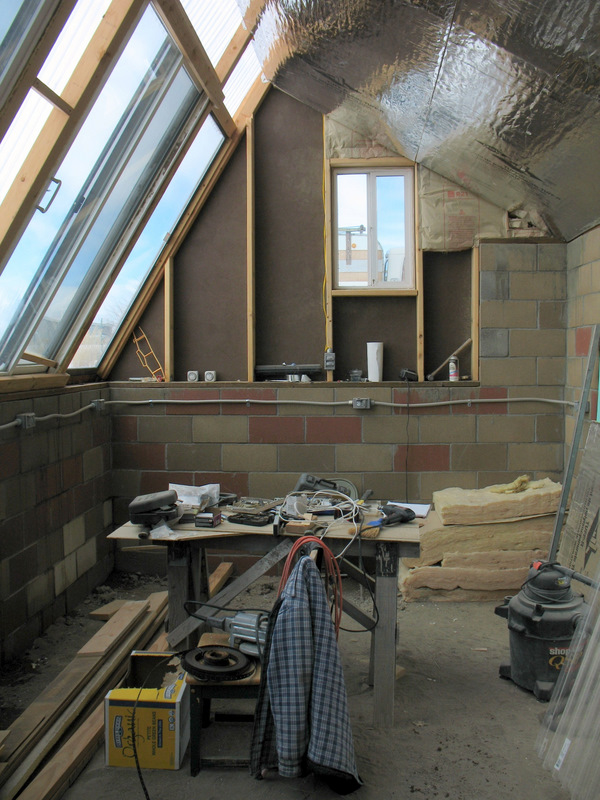
Notice the blue roll we are holding in the above photo. That's just insulation between the top of the cement walls and the wood structure. The big thing to notice is the white stuff in this picture. I insulated all the outside walls, after I waterproofed them with just a paint on product that I picked up at Home Depot. The insulation is two inch thick foam, 8' X 4' sheets. The reason that I waterproofed the blocks is that I didn't want the mortar getting wet and water seeping through my cinder blocks. It's probably overkill. I did fill the walls with cement and rebar, and I live in a desert that has the best drainage of any place I have ever lived. I was raised in Seattle so I thought the world was made of mud and rain. You can imagine my surprise when I found blue sky and sunshine in eastern Oregon. I moved here in 1983 with my family. A wife and three kids. We love this area.
May22 033

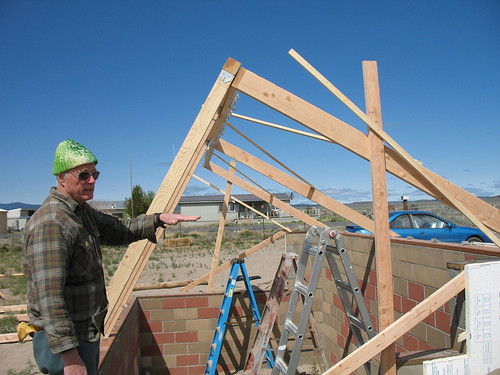
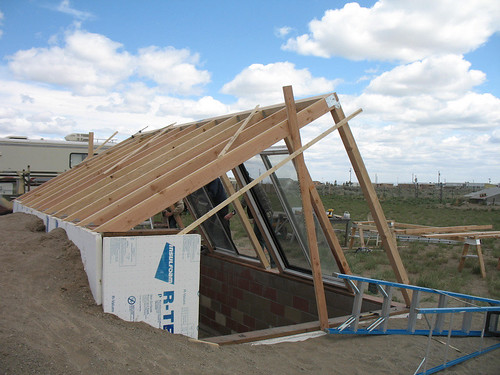
Here you have the real structure going up. My friend Hank, is standing on the south side of the structure. You can see that we are using 4" X 4" 's as the up and downs to brace the roof because we know it is going to be heavy. I will be using 2" X 8" on the roof to support the span and to also hold the weight of the tin roof and insulation. Just as importantly, I may be hanging planters from the ceiling to eliminate wasted space. Notice the funny sticks as you are looking at this picture. They are just tacked on to steady the stucture until we start nailing and screwing it together. Hank is a "Renaissance Man" that knows more about everything, than most people know about anything. He is on a number of groups online that analyze and study sustainability. He was talking about peak oil way before anyone really wanted to know about it.
May22 039

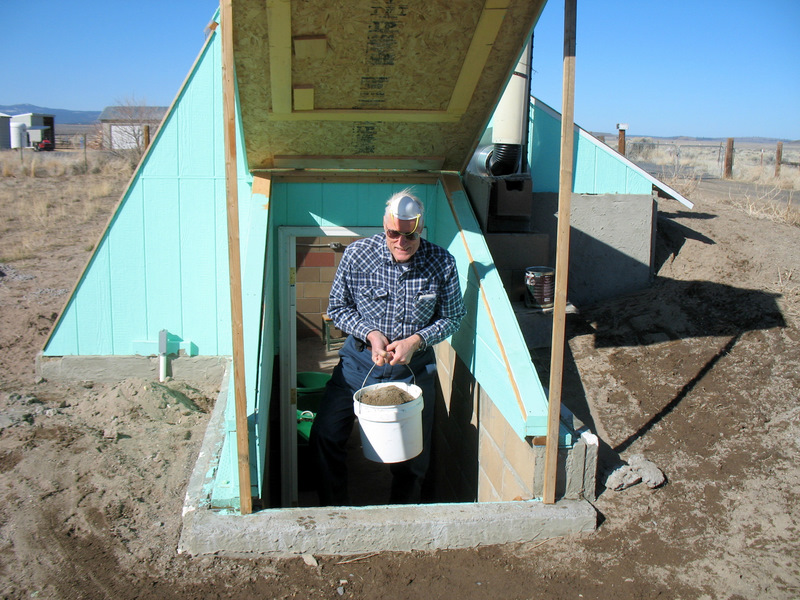
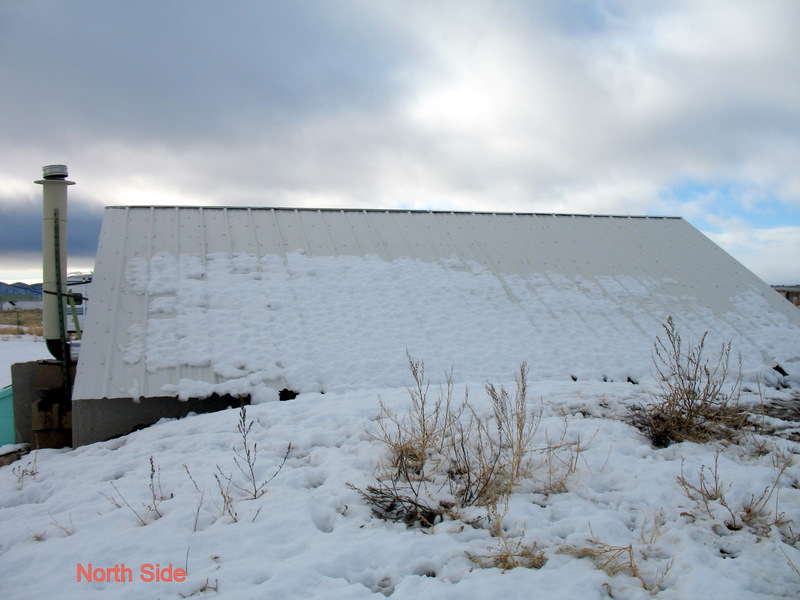
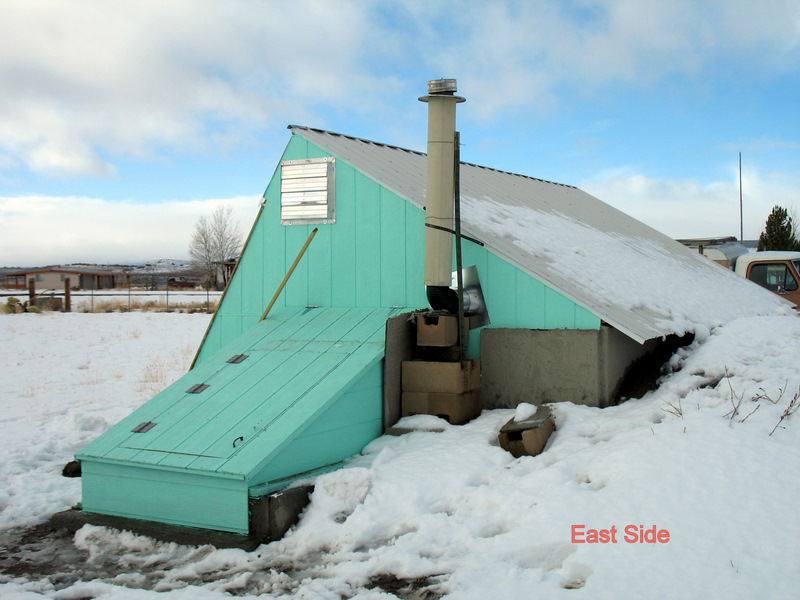
Here is a shot from the northeast of the greenhouse showing the berm of dirt that has been pushed up against the north wall, finishing the "heat sink".
May22 038

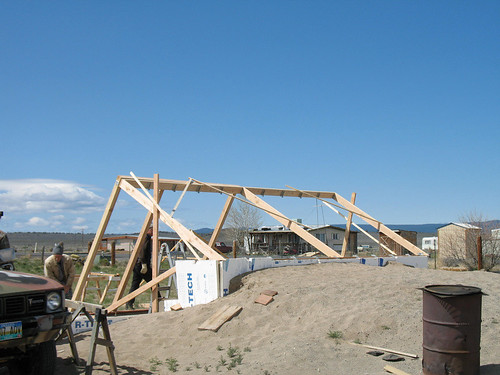
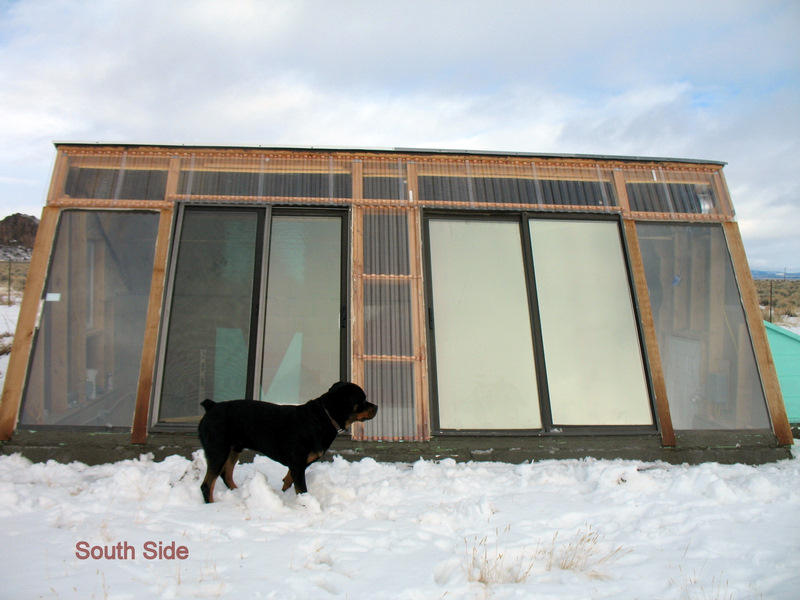
Here you can see the roof coming together. We are starting to frame in for the windows on the south side. They are nothing more than sliding glass doors that I got at garage sales. Less than 30 dollars for all of them. Also, if I haven't mentioned it, the blocks are all seconds, this affects only the color, not the integrity of the block. I bought all the mismatched ones. They were happy to sell them to me. The whole load of blocks was less than 500 dollars. Half price from what the big stores wanted. This photo is taken from the northwest of the structure. Remember, if you need any details at all, leave a comment and I will get back with you to answer questions.
May22 044

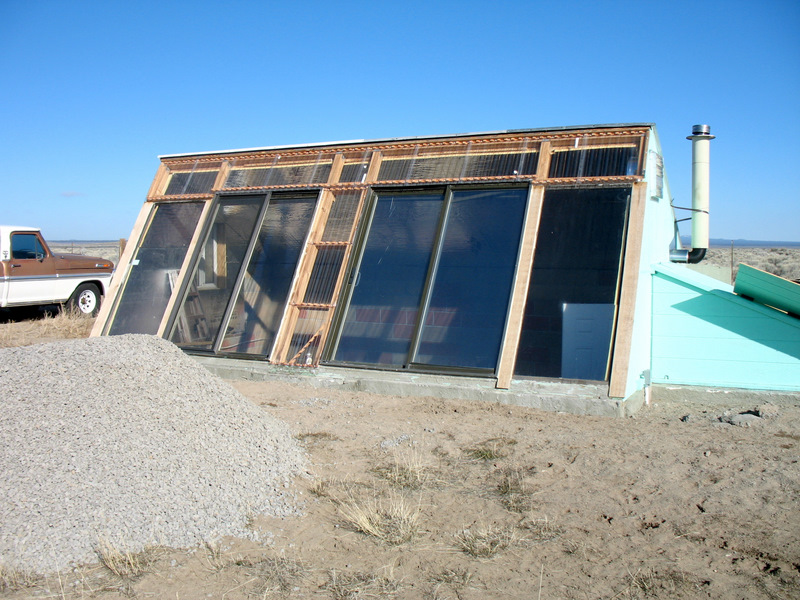
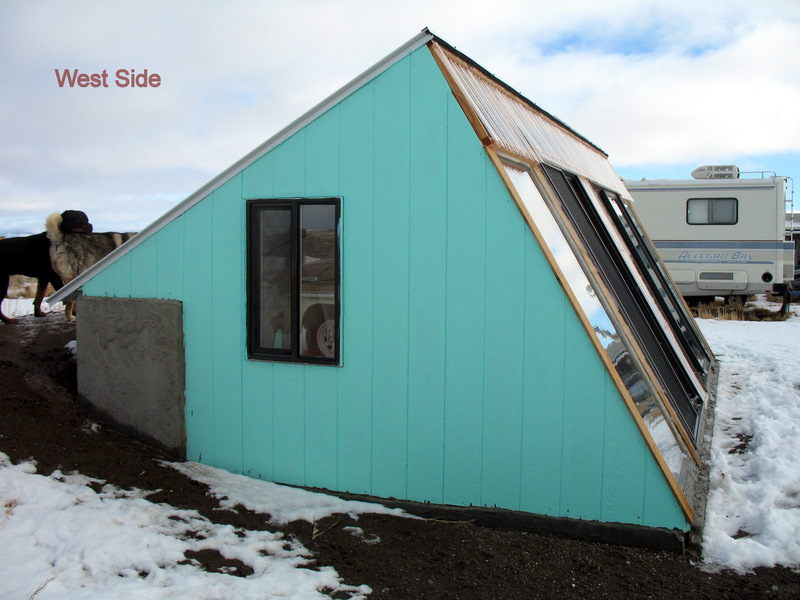
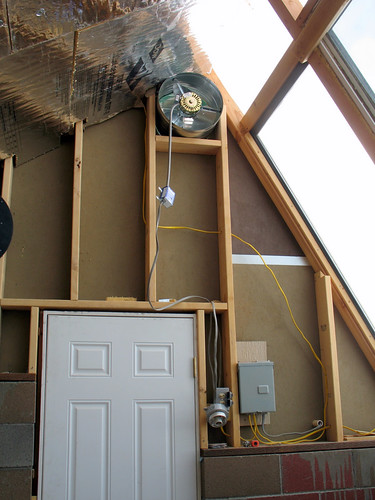
Notice the sliding glass doors don't go all the way to the top. No problem, I am going to put in clear greenhouse material to cover that area. The two big sliding glass doors in the middle slide open, they actually work! That is part of my summer cooling plan. The panels on each side of the sliding glass doors are stationary. They were part of a sliding glass door but I took them out of their frame. Note the metal "ties" that are holding the corners together. I don't know what they are called, but they sure work good. Hanks idea again.
May22 045

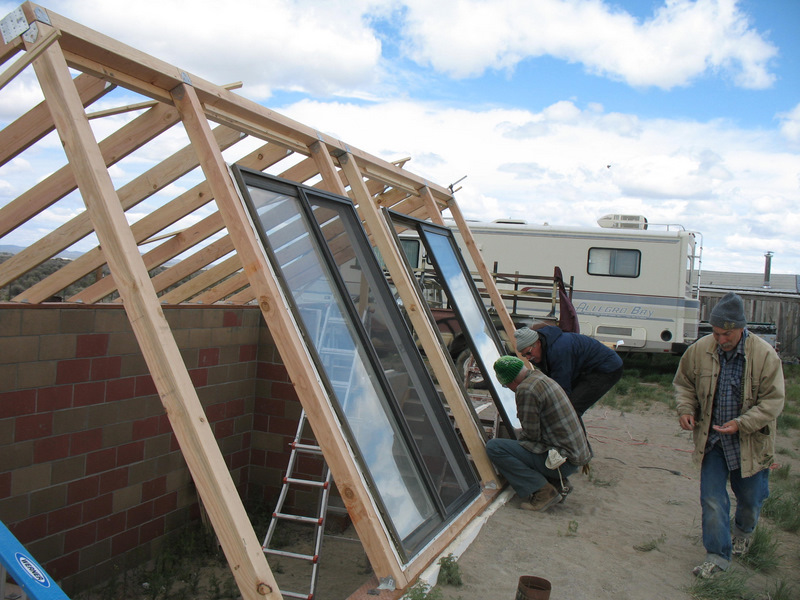
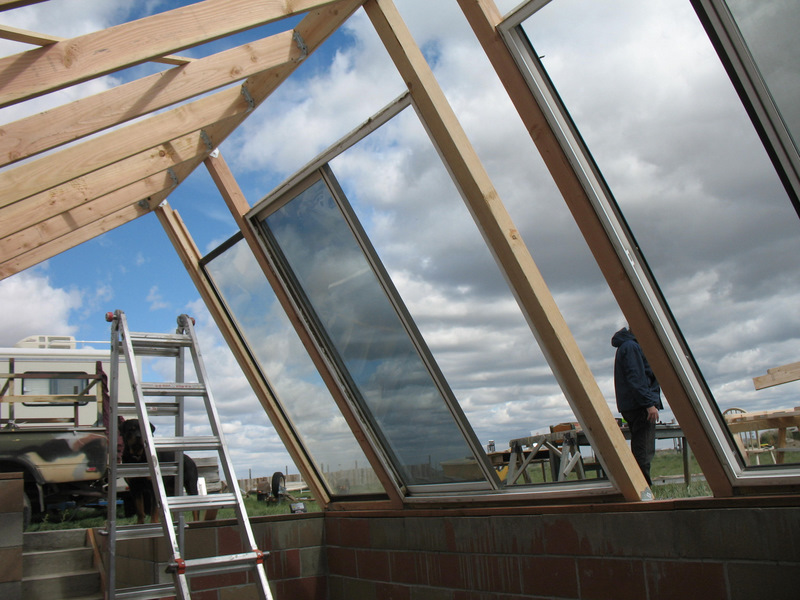
Here is a shot from the inside of the stucture, looking out. Oh, by the way, the other guy helping is Mark. He is an archaeologist. We found him wandering around out here in the desert, looking at rocks and fossils. Currently he is volunteering at the University of Oregon cataloging really old stuff. We have known Mark for a few years and he loves the Fort Rock basin. He is a real inspiration and a lot of help. I think he has a strong background in construction because he knew all the secrets and shortcuts. Thanks Mark.
May30 004

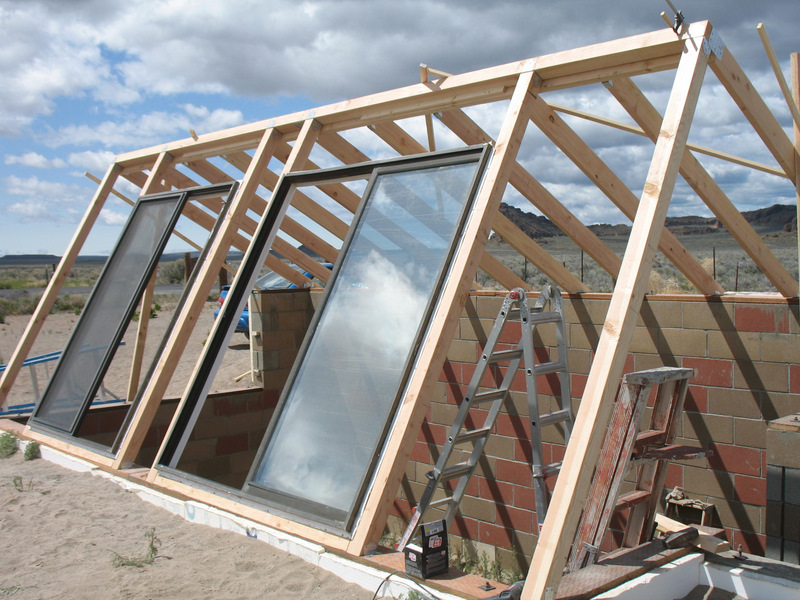
This is a view from the southeast. Remember when you build something that is not traditional, everyone calls it "Noah's Ark". Hope it works.
May22 046

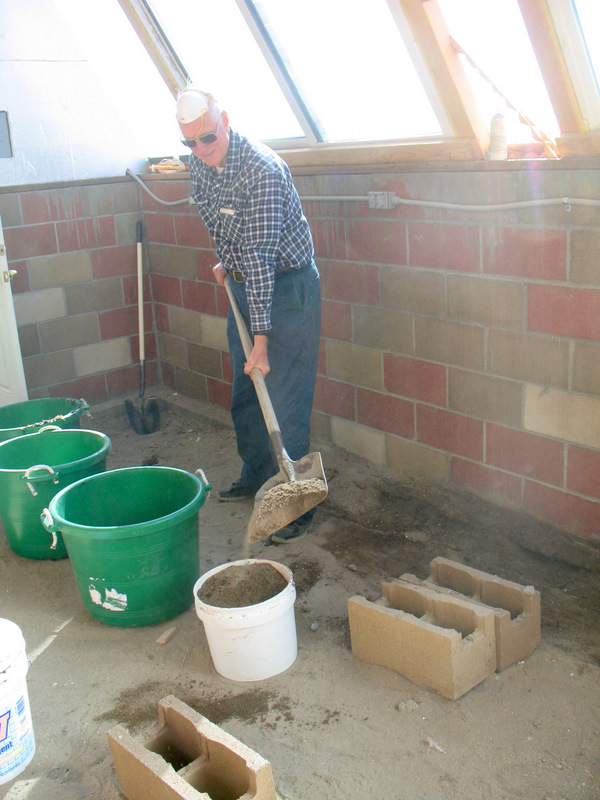
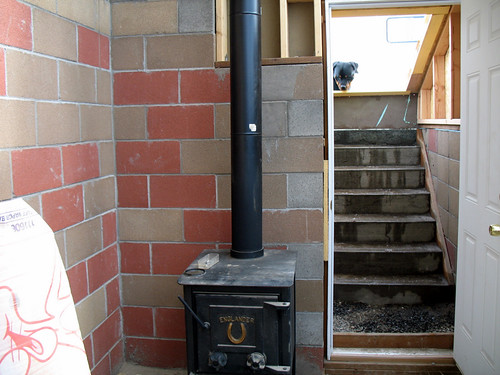
Notice the cement stairs. That was a project that couldn't have been done without my neighbor Spence. You saw him at the beginning and during the building of the walls. He is the real pro in our community.
May30 005

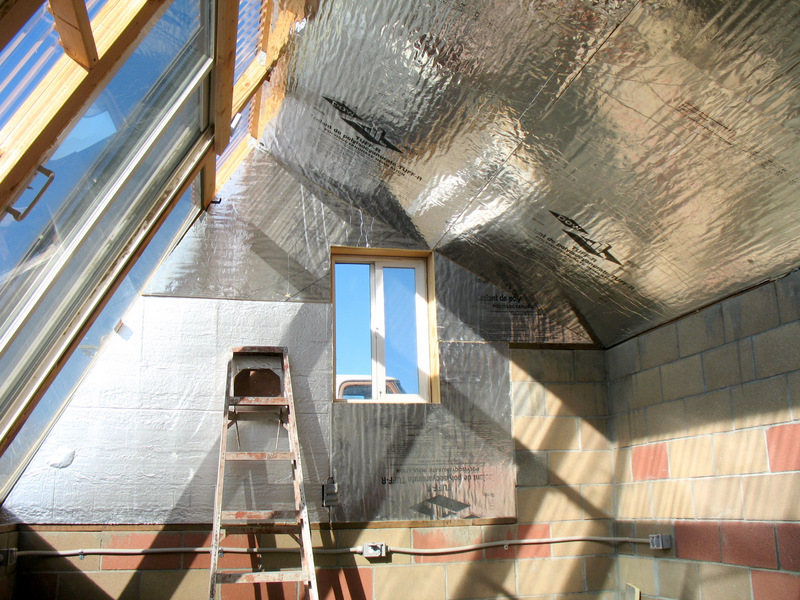
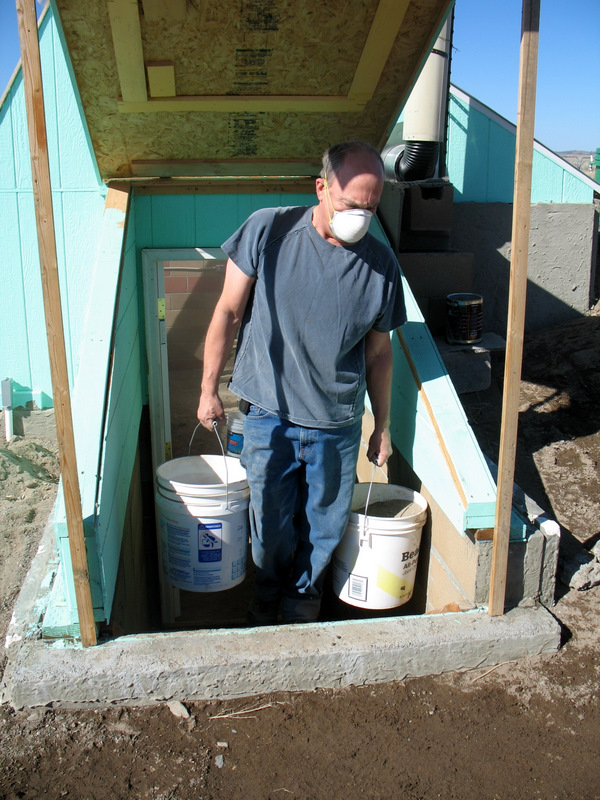
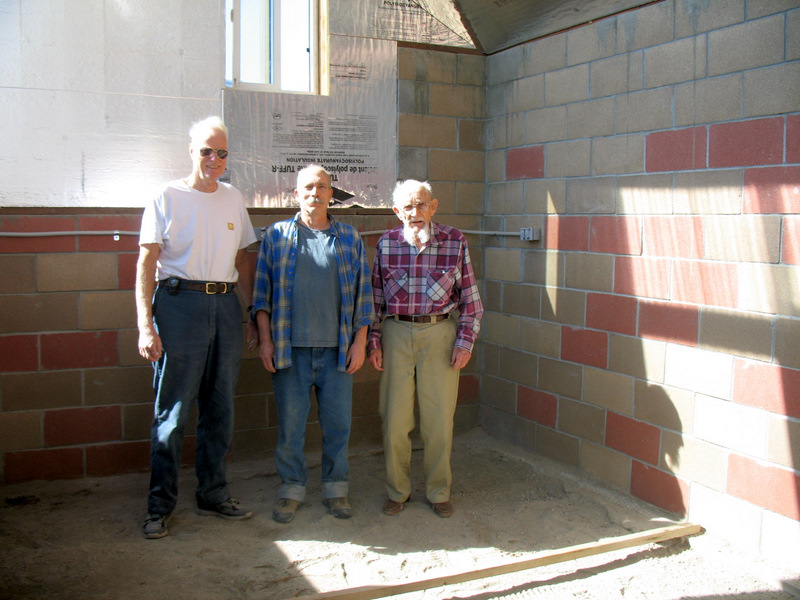
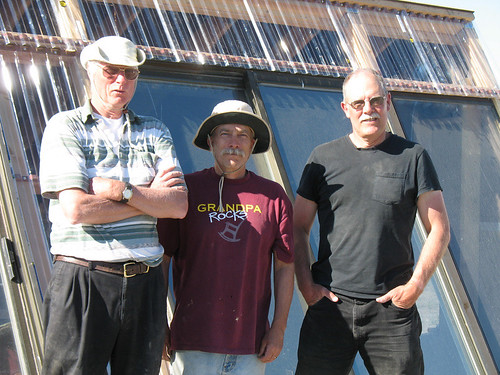
Here is Hank to the left, me in the middle and Mark. Very proud of ourselves to have gotten to this point. Notice the greenhouse, rigid plastic closing in the gaps.
June14 052

Here we are on the roof. I used plywood to hold it all together. You will see the metal roofing in a future post.
June14 054

That is my dog "Drago". He is such a picture hound (arghh arghh). I painted the plywood with some paint that I had on hand. Then I put tarpaper down prior to the metal roofing.
June14 055