1) I tried to go cheap and dig trenches for my foundation. Something like eight inches deep and ten inches wide. WRONG! You want foundations to be, if at all possible, on undisturbed earth. Buy the 2 X 8's and build your foundation above ground, not inset into the ground. My friend who is a contractor, saw my ditches and made me spend the money to put the wood inside because he said they were totally inadequate. I could have saved lots of time by not trying to save money by digging a ditch foundation. They are poor quality.
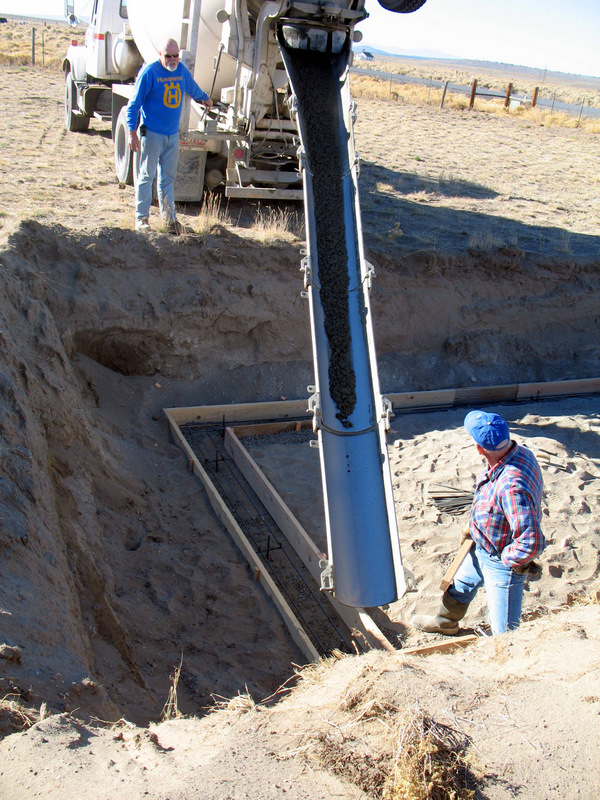
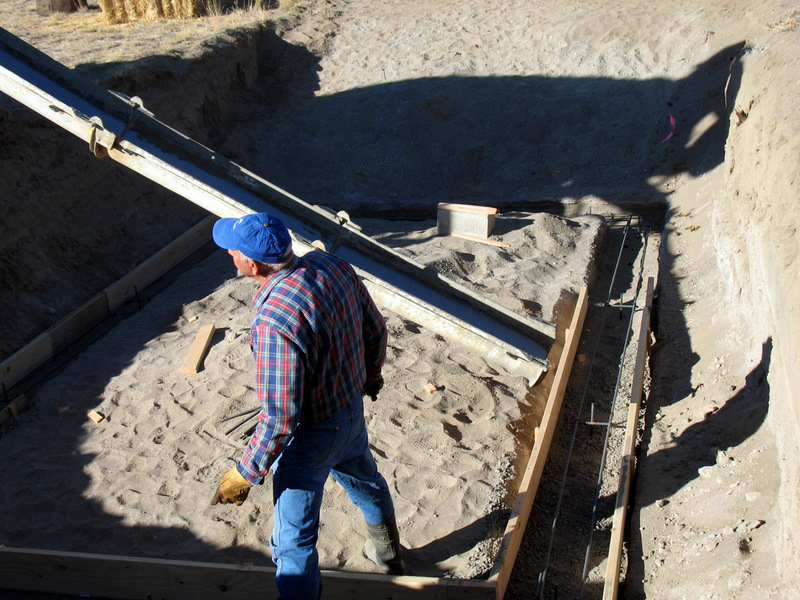
2) Be sure to use rebar and suspend it two inches off the dirt. Like pounding in little pieces of rebar and tying your long ones to it. Use the big diameter rebar for strength. You can see how to do this in the next two photos.
3) Don't throw rocks and pieces of metal into your foundation footings. They just make weak pockets. I used to throw in rocks, scrap metal and pieces of old cement. Bad, bad.
4) The reason you want a strong cement foundation (and some people told me mine looked like a sidewalk) is so your walls don't come tumbling down. I'm using cinder blocks filled with cement and rebar for my walls. 4 foot walls on the south, west and east side and 8 feet on the north (my potential heat sink).
The first two photos show the cement truck delivering the cement to my foundation.
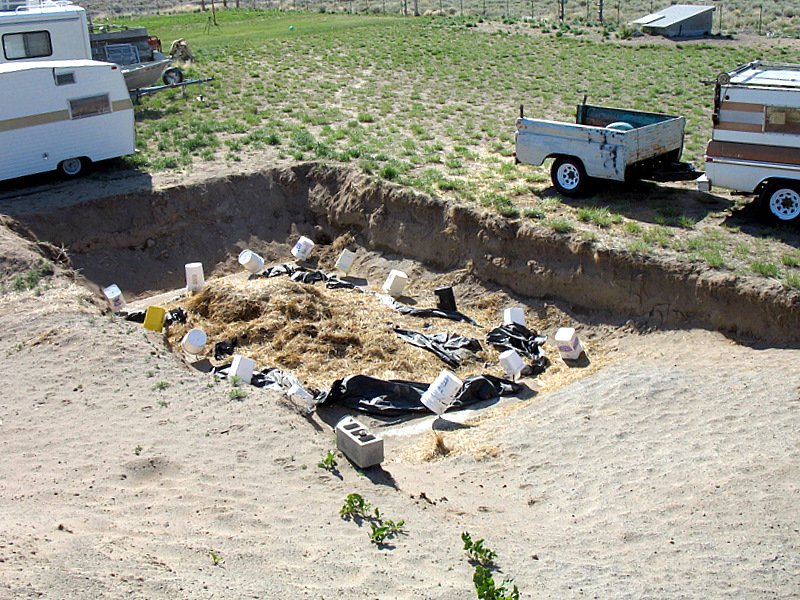
After the foundation was poured, because it was October, I put black plastic over it. Two days later I threw in a two foot layer of old, moldy, free hay. This was for insulation purposes to take me through the winter. The buckets you see in the photo were covering upright rebar, which is to help tie in the walls. I put the buckets over the rebar so my boisterous rottweiler would not impale himself on the rebar. He wanted to play in the hole all the time, even trying to jump across it.
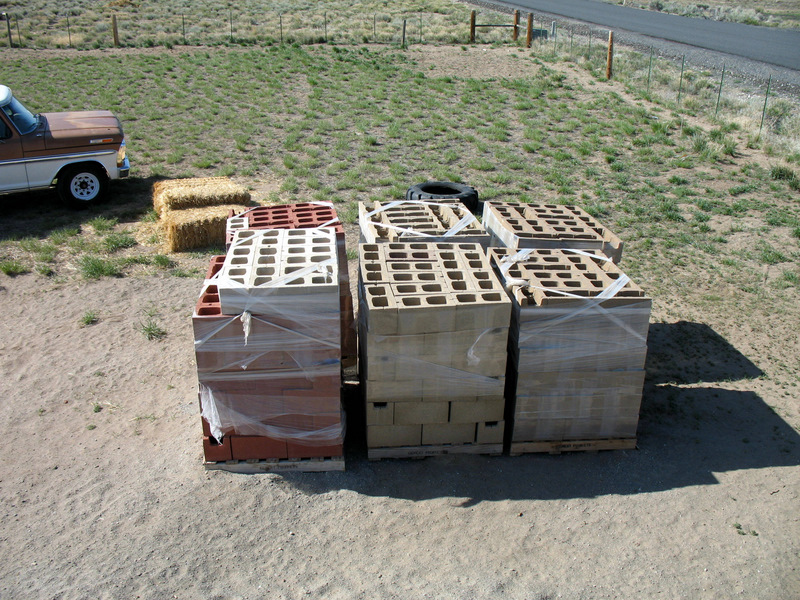
I had a load of cinder blocks delivered. I bought "seconds". That means the colors varied, not that they were broken structurally. I saved a bundle. Next post will show the walls going up!


This comment has been removed by the author.
ReplyDeleteGreat pictures of what the footings should look like before pouring the concrete, Dan. You might mention the size of the footings.
ReplyDelete