Saturday, February 21, 2009

Greenhouse Taking Shape

This post will show the continuation of the walls going up. It took several weeks because we could only do so many layers and then had to stop and let the mortar cure. The first two photos show the project looking from the east to the west of the building. My doorway is on the east side.

Various 007
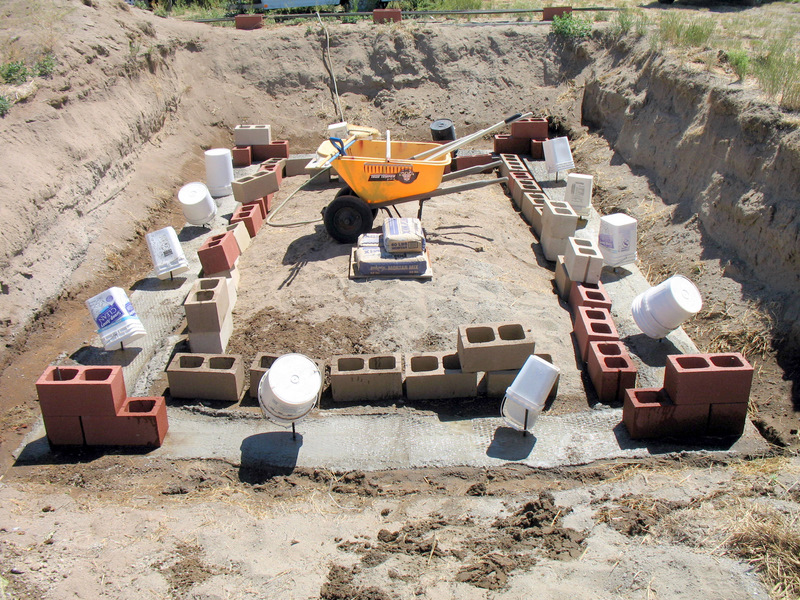
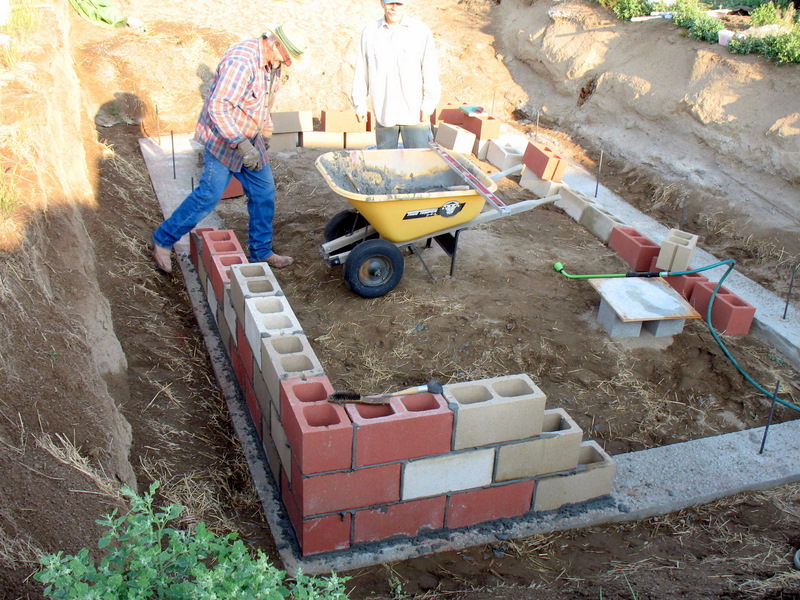
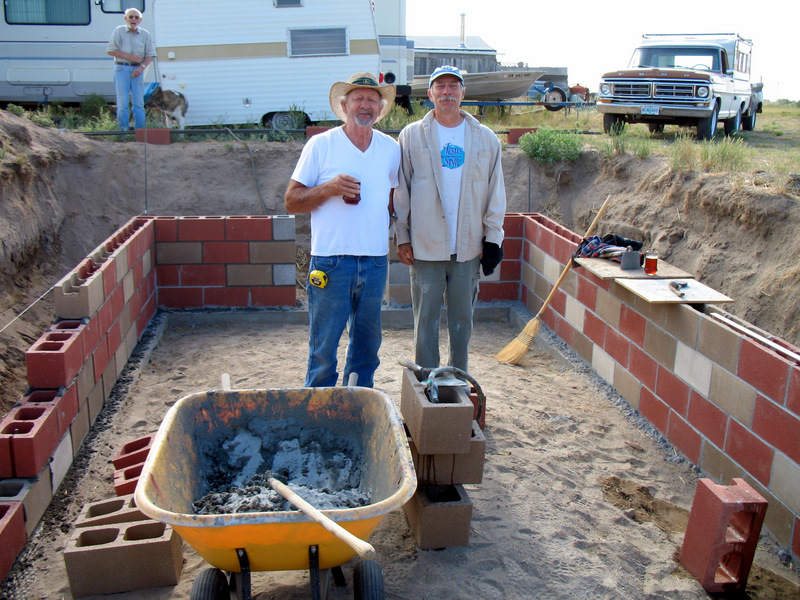
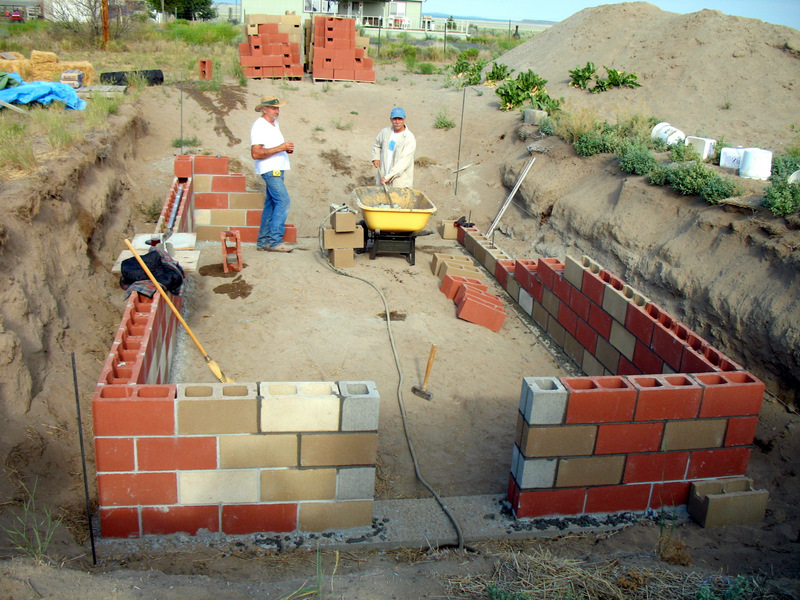
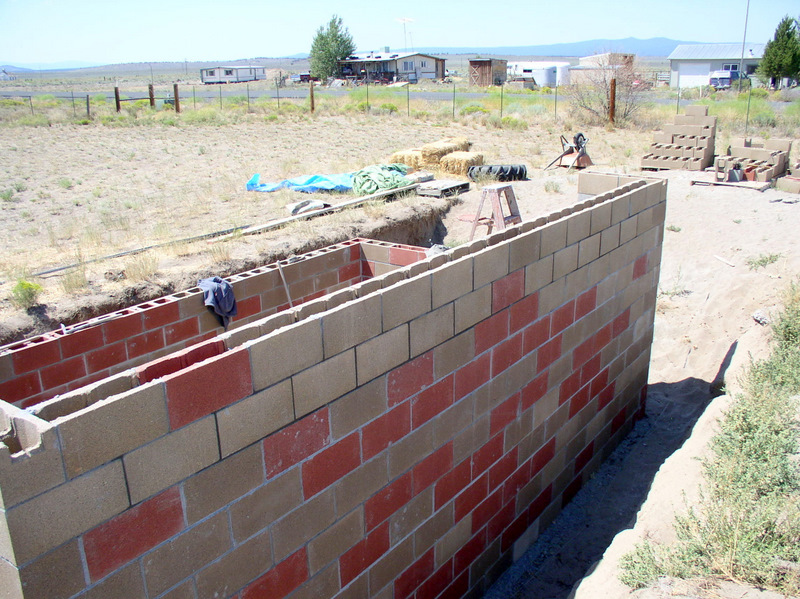
Note the string attached to the rebar at the corners. This is the secret to building a straight wall. Line up the string, flush to the corner and place your block right at the string. You can raise the string as the bricks go higher.
July19 023

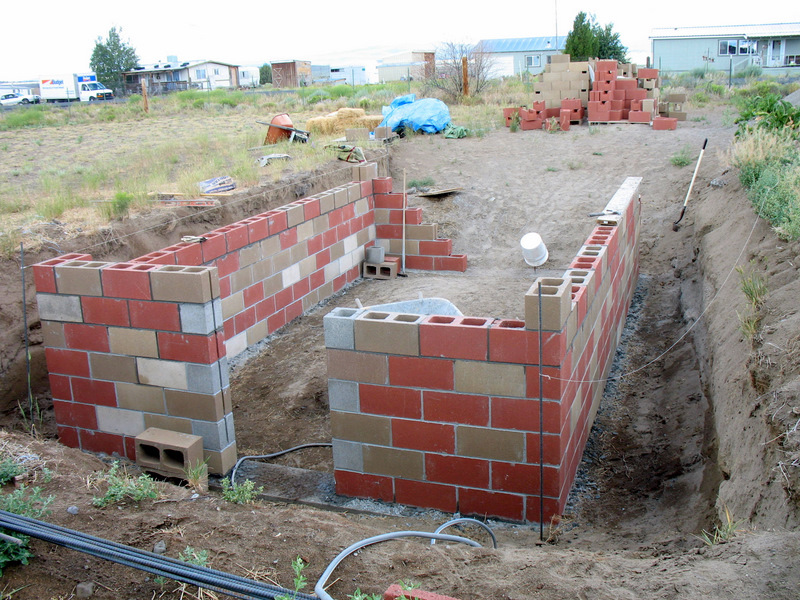
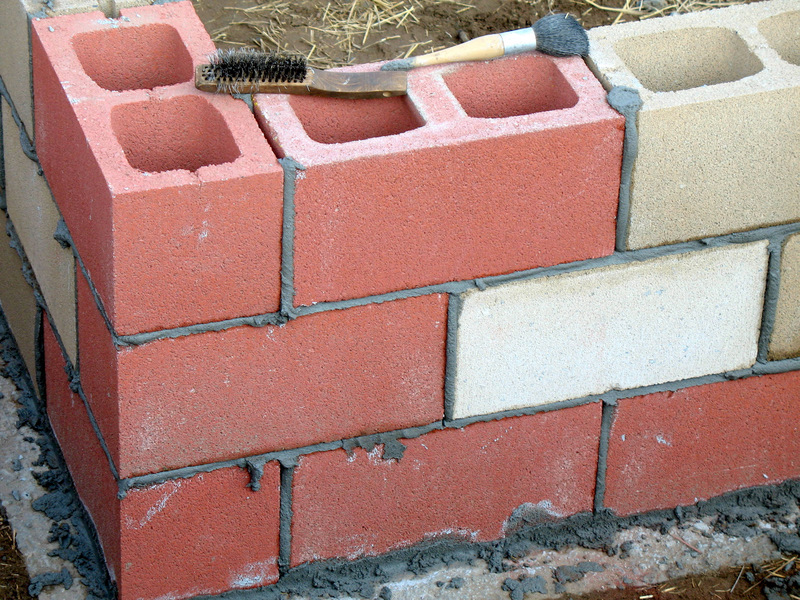
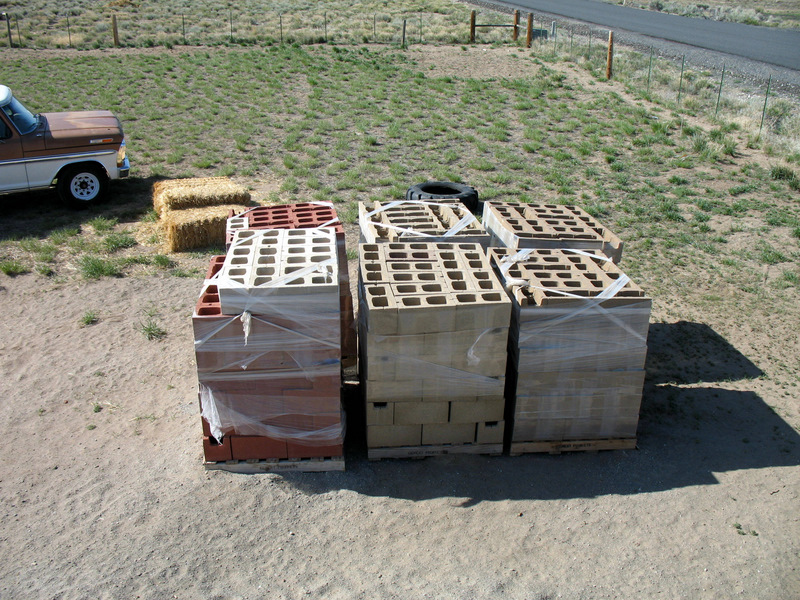
In this next photo, note the bricks on the foundation. They are eight inches wide and are centered on the foundation. The foundation is 12 inches wide, so there are two inches on either side of the cement bricks.

July19 026

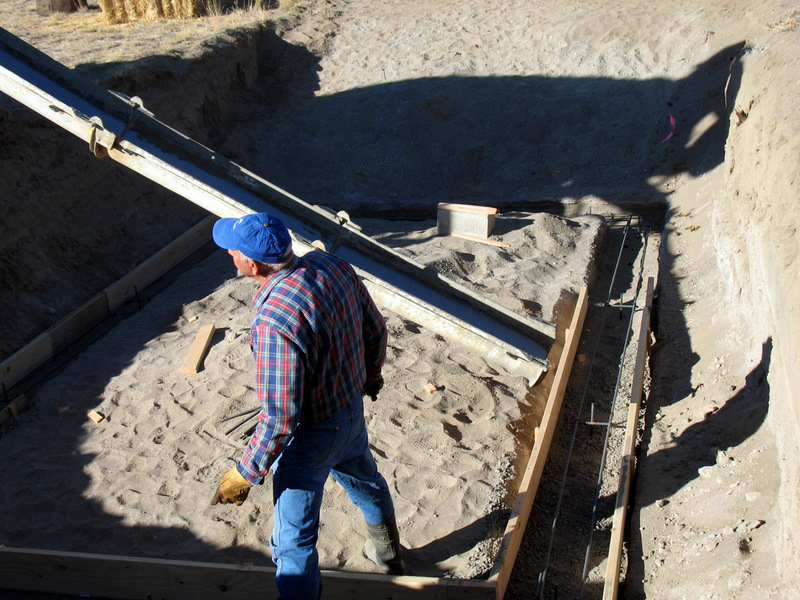
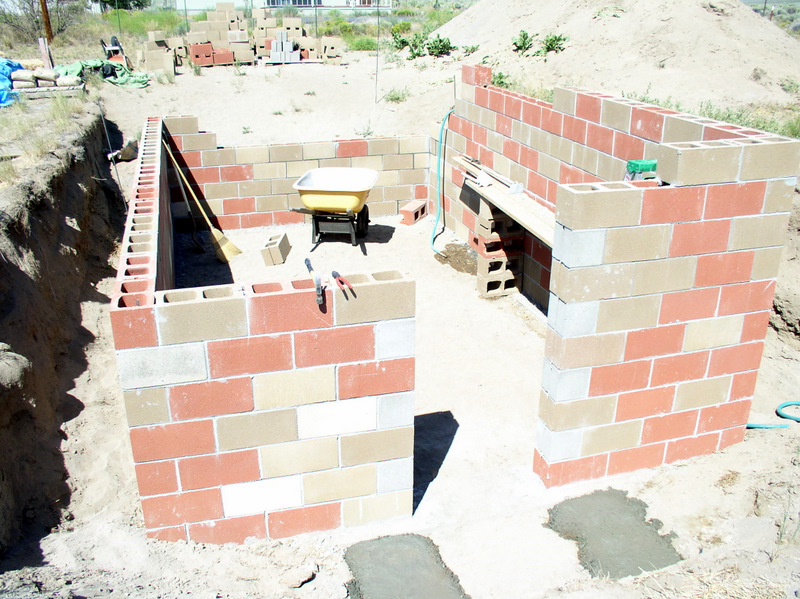
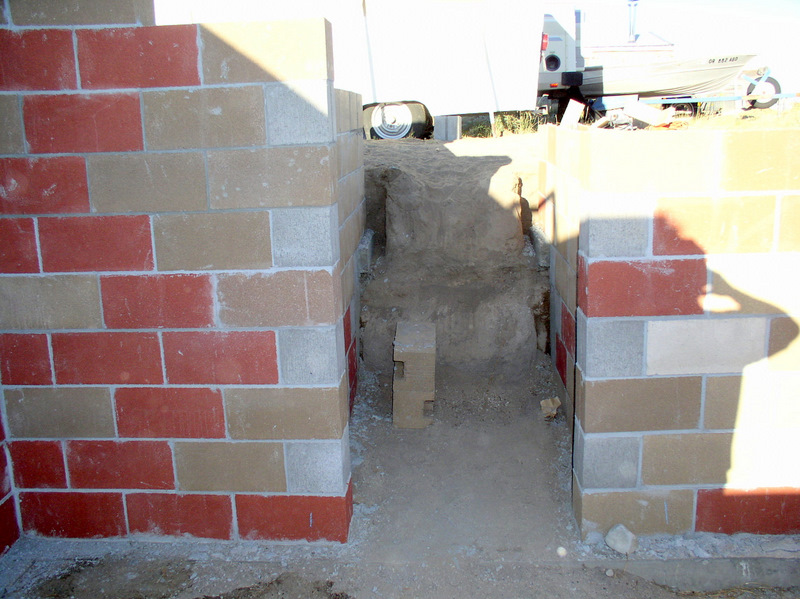
You can see here that we have made progress with the walls and have just poured the footings for the stairwell.

daniel pictures 006

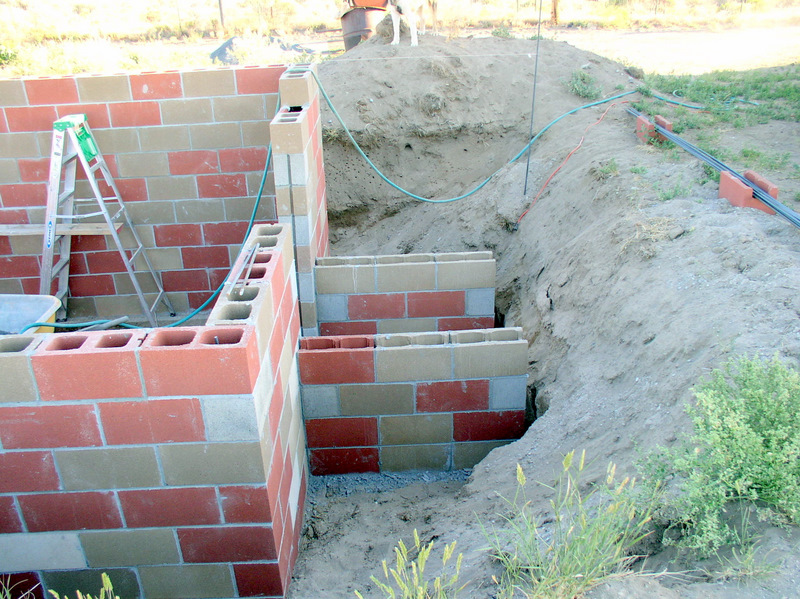
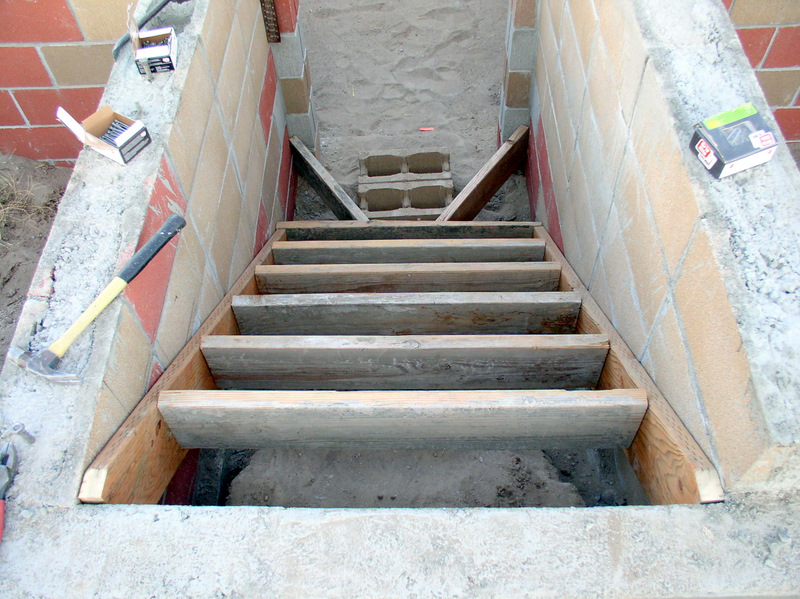
Here is a side view of the stairwell in progress. Notice the upright rebar to lend strength.

daniel pictures 074

Another view of the stairwell with the work further along.

daniel pictures 057

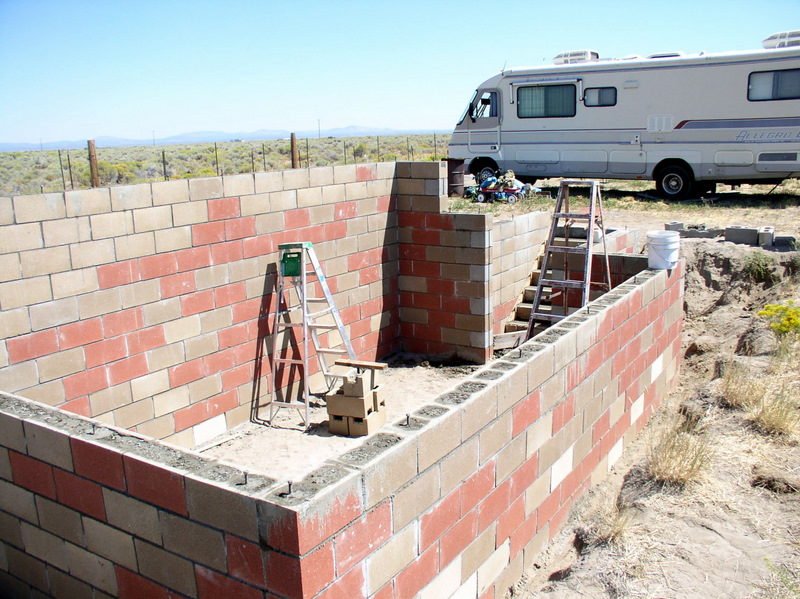
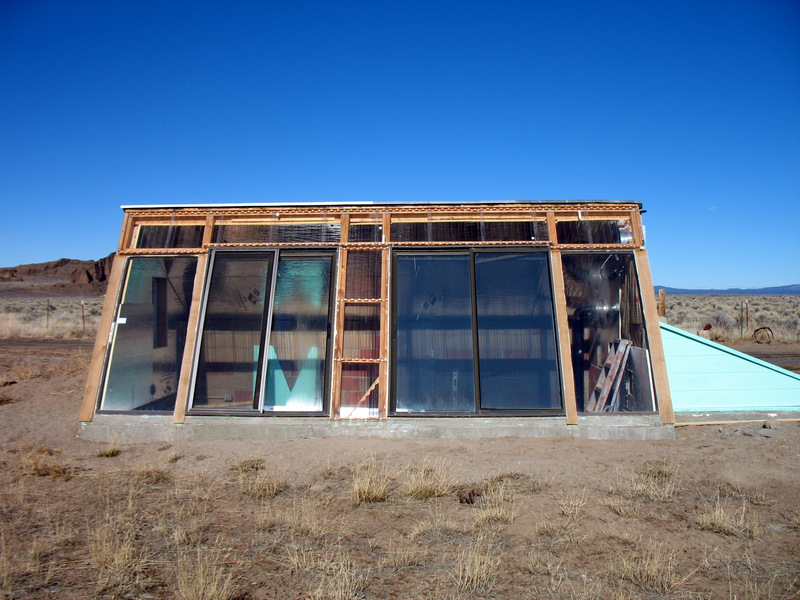
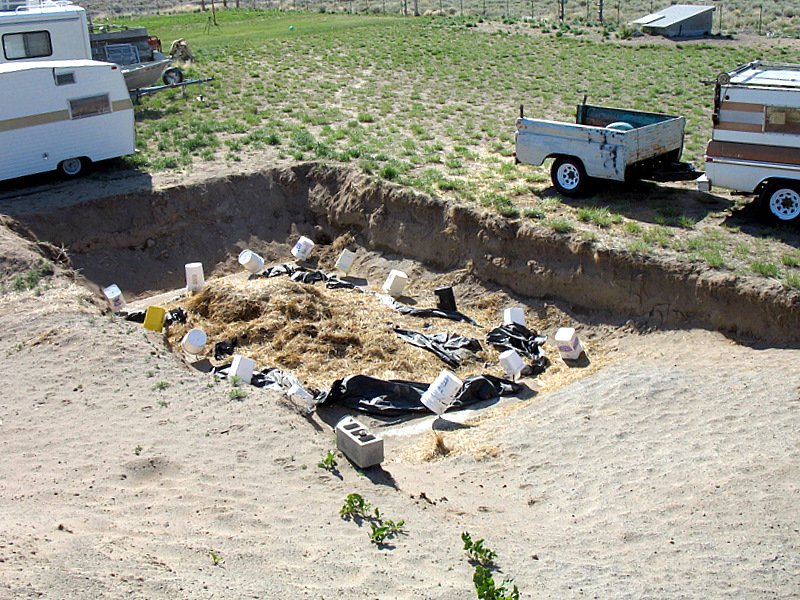
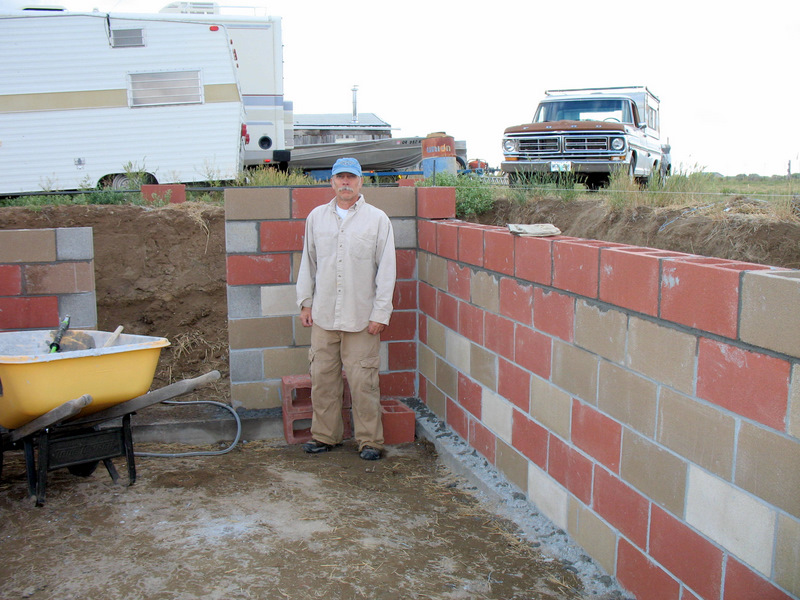
View of the north wall from the outside, before the dirt berm got pushed up against it.

daniel pictures 076

View of stairwell before stairs are poured.

daniel pictures 107

Here is a shot of the forms for the stairs.

daniel pictures 137

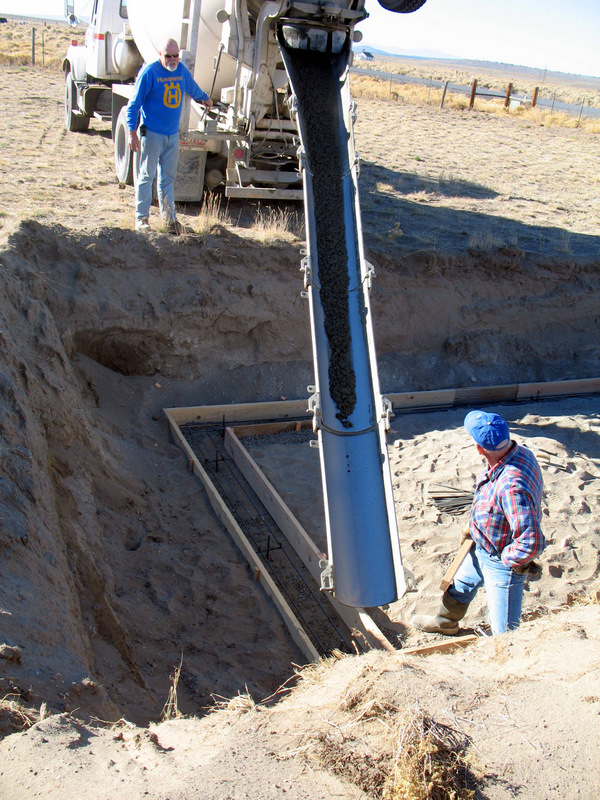
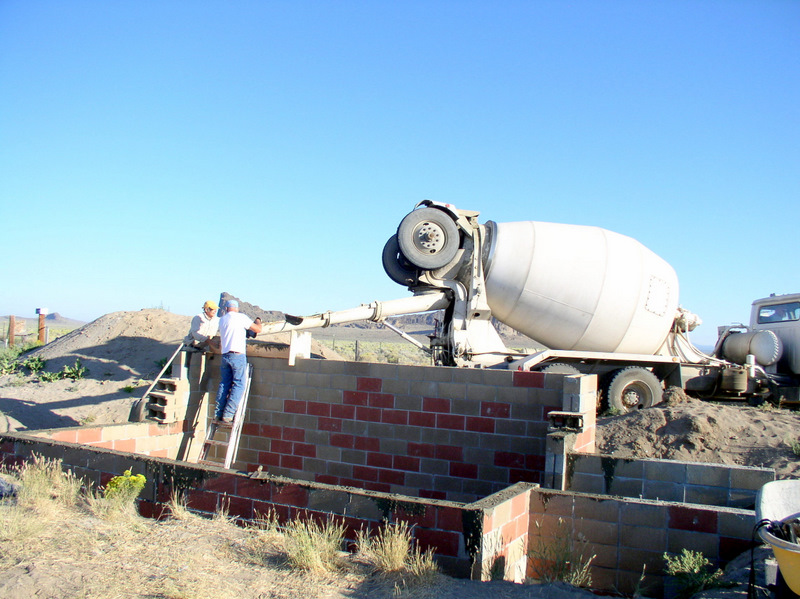
In this photo you can see that the cement truck has come back again and is doing a pour for our stairs. We also ordered enough to pour into the walls on all sides to make a truly solid wall. The intention is not just strength, but a solid wall will better hold heat in the winter and insulate against heat in the summer.

daniel pictures 149

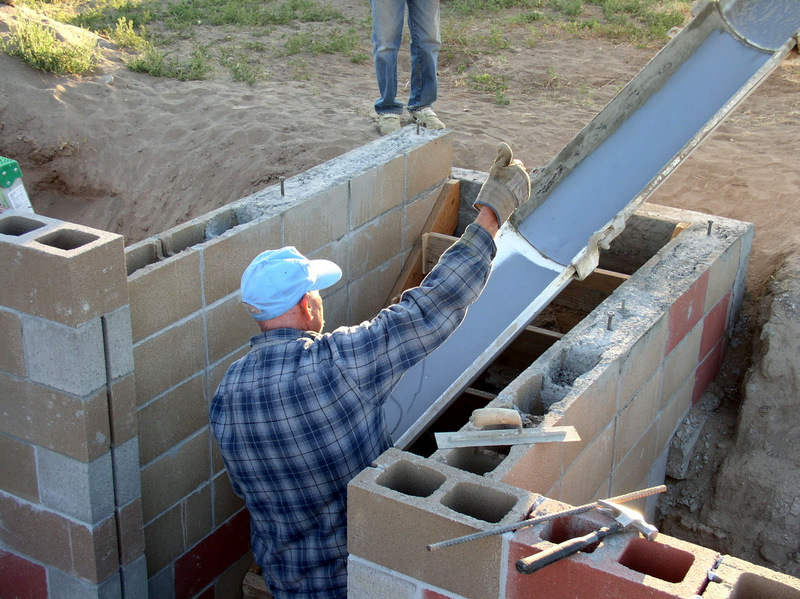
It is difficult to see, but we built a sort of funnel to direct the cement into the bricks.

daniel pictures 157

In this last photo, you see the cement truck has left, and the walls are finished. The cement is still wet inside the bricks and it will take some time to cure.

daniel pictures 166

Monday, February 16, 2009

The Walls Are Started!

So where were we in building this greenhouse? We had just finished the foundation for the walls. It was October (2006) and getting cold so we covered everything with hay for the winter and put buckets over all the upright pieces of rebar so that my dog would not impale himself on them if he jumped into the hole.
The next spring we uncovered the foundation. Then in July we finally had the time to begin building the walls. This first photo shows our foundation with a few bricks ready to be laid. My friend Spence, who was born with cement in his veins and two bricks in each hand, knows cement work. He is on hand to guide and teach me in this venture. I am really grateful for all his time and help.


July 9 029

The first corner is critical in getting your walls going in the right direction. You can see that here in this photo. There is also a close up of the corner in the next photo. Here you also see, the wheelbarrow where we mixed the mortar and the hose close at hand for adjusting moisture in the mortar. Also, note that the upright rebar coming from the foundation lends strength and stability to the walls.
July 9 033

July 9 032

This photo shows Spence on the left and me, Dan, with my Dad in the background supervising. This is where we stopped for the day. Time to let the mortar set up solid before we continue with building upward.
Various 005

Next post will continue the wall building and the stairwell that we built. It was very time intensive but also interesting. It's nice having good, solid steps going into the greenhouse. If you have any questions along the way just post them in comments and I will try to answer them.

Saturday, February 14, 2009

Greenhouse Design

I realized that I needed to take a step back and explain what my objectives are in building this greenhouse and the design that I have chosen. I live in the high desert with temperatures ranging from -20 for weeks at a time to 110 in the summer. I've been gardening in this climate for over 20 years. I've had cold frames, and have one traditional, above ground greenhouse. I also have raised beds and garden plots. Here's a photo of how my new greenhouse looks today.

Greenhouse 004

The type greenhouse I have chosen and built is called a "Pit Greenhouse". I got the general idea from a book I have called "The Solar Greenhouse Book by James McCullagh and printed by Rodale press. This type greenhouse is designed for extreme temperatures. The premise is that you use the ambient temperature of the earth ( at four feet below surface) to keep a steady 50 degree temperature all year round. Of course it needs a little help to keep the temperature just right. I will explain this as I show how it has been built.
When it is complete, I plan to experiment with different methods of gardening. I've always been an organic gardener, but I plan to try the Mittleider method, hydroponics, aquaponics and of course some of my traditional organic gardening techniques. I'm building this greenhouse as a laboratory, open to the public. I plan on documenting temps, lighting, nutrients, home made aquaponic and hydroponic equipment. I've read the latest mags such as Maximum Yield and Garden Greenhouse and Gardener and I've seen the pretty pictures, but everything is too expensive. This is a back to basics experiment and I'm only interested in growing food. (cucumbers, tomatoes, brocolli, lettuce and many greens). My goal is sustainability for my family. Being able to grow year round in an area that is not gardening friendly. I also raise chickens...I'm the 4-H poultry leader for my area. I feel that the food chain is being compromised and people need to have more direct control over what they eat. I believe in buying locally, but most of all growing your own.
Be sure to ask questions. When it is all done, and up and running, perhaps you can even come visit. When it is running well I will be posting pictures and information often. My next post will continue the building sequence. Soon to come...

Sunday, February 8, 2009

Second Stage - The Foundation

Foundations are everything. Here are a few tips:

1) I tried to go cheap and dig trenches for my foundation. Something like eight inches deep and ten inches wide. WRONG! You want foundations to be, if at all possible, on undisturbed earth. Buy the 2 X 8's and build your foundation above ground, not inset into the ground. My friend who is a contractor, saw my ditches and made me spend the money to put the wood inside because he said they were totally inadequate. I could have saved lots of time by not trying to save money by digging a ditch foundation. They are poor quality.

2) Be sure to use rebar and suspend it two inches off the dirt. Like pounding in little pieces of rebar and tying your long ones to it. Use the big diameter rebar for strength. You can see how to do this in the next two photos.

3) Don't throw rocks and pieces of metal into your foundation footings. They just make weak pockets. I used to throw in rocks, scrap metal and pieces of old cement. Bad, bad.

4) The reason you want a strong cement foundation (and some people told me mine looked like a sidewalk) is so your walls don't come tumbling down. I'm using cinder blocks filled with cement and rebar for my walls. 4 foot walls on the south, west and east side and 8 feet on the north (my potential heat sink).

The first two photos show the cement truck delivering the cement to my foundation.
Oct14 021

Oct14 019

After the foundation was poured, because it was October, I put black plastic over it. Two days later I threw in a two foot layer of old, moldy, free hay. This was for insulation purposes to take me through the winter. The buckets you see in the photo were covering upright rebar, which is to help tie in the walls. I put the buckets over the rebar so my boisterous rottweiler would not impale himself on the rebar. He wanted to play in the hole all the time, even trying to jump across it.
May 13 059
I had a load of cinder blocks delivered. I bought "seconds". That means the colors varied, not that they were broken structurally. I saved a bundle. Next post will show the walls going up!
May 13 058

Friday, February 6, 2009

Stage One - Digging the hole

These photos document the first stages of building my pit greenhouse. Location is everything. You need to locate it with a clear southern exposure. After I dug this hole I learned that this greenhouse should have been tilted slightly to the west. My greenhouse site faces directly south.

Big Hole 001

I was going to dig this by hand which was feasible because we do not have rocks where I live, but my friend offered to use his tractor. The hole will be four feet deep because I am trying to use the ambient temperature of the earth to help keep my greenhouse at a stable temperature. Warm in the winter and cool in the summer.

Big Hole 004

Still digging...

Big Hole 012

The pile of dirt is growing. That is Fort Rock in the background. I had no idea how much dirt comes out of a hole that is four feet deep by 22 feet long, by 14 feet wide.
Big Hole 006

We have reached the four foot level.
Big Hole 014

The foundation dimensions will be twenty by twelve. You always want a bigger greenhouse, but this seemed to be the most economical. Next post will show the foundation.
Big Hole 016